
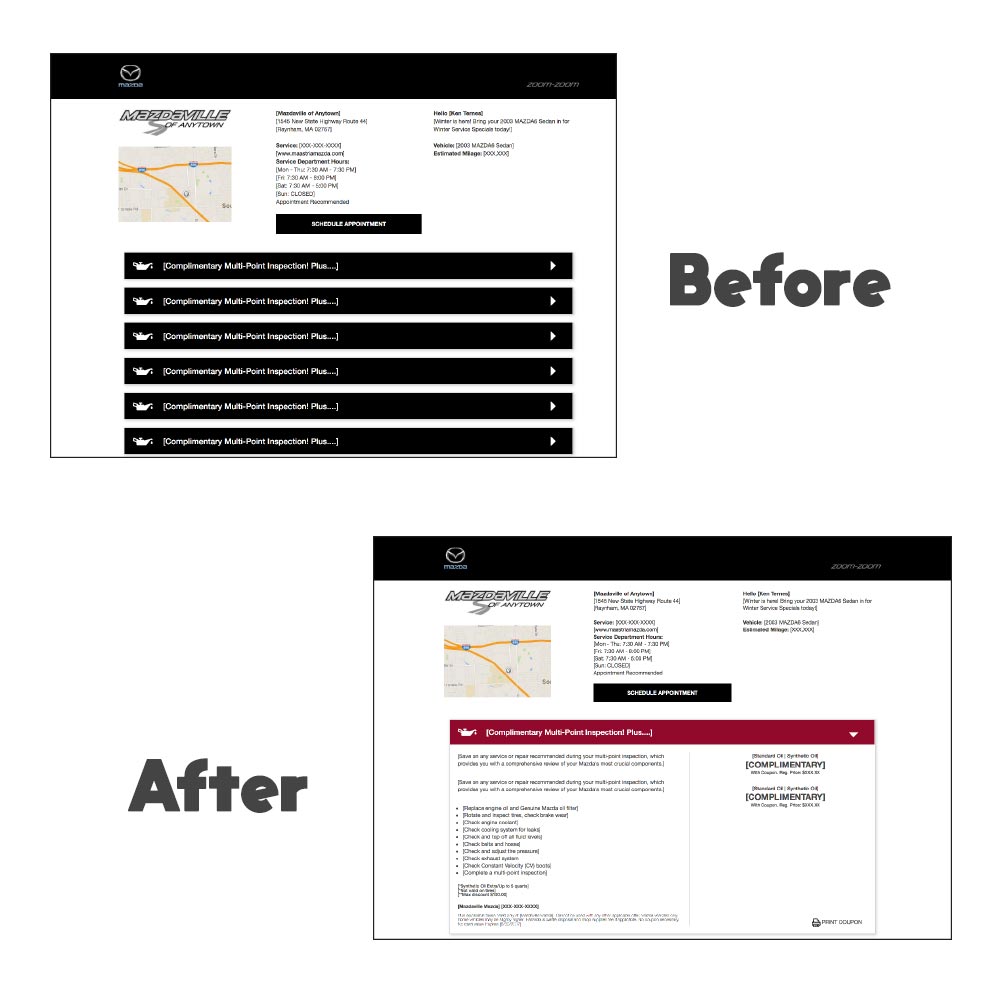
XD is a WSIWYG editor. If you want someone to see an interaction on the page you will need to design what the interaction will look like. In our case, we are designing what the page looks like before and after the interaction happens. So we only need two artboards. We will be building the coupon drop down as seen on our coupon landing pages. This is just a small portion of what this app is used for. I will include some links at the end that will hopefully further your knowledge of Adobe XD.
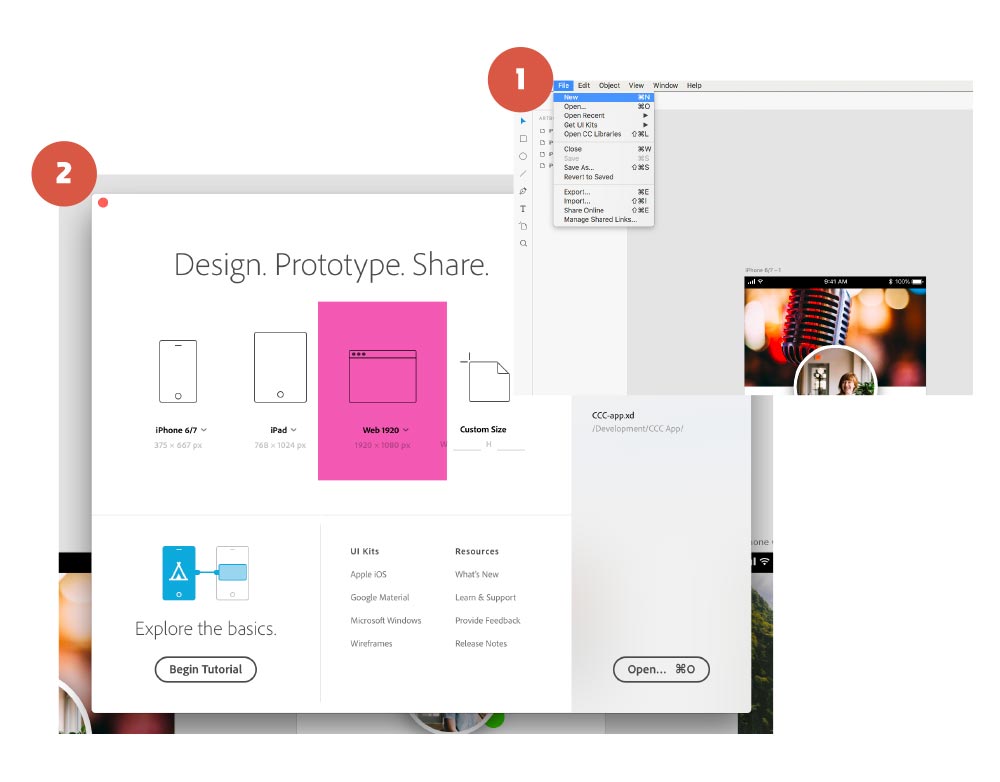
Let’s open a new document in XD. Let’s pick the Web 1920x1080 option.
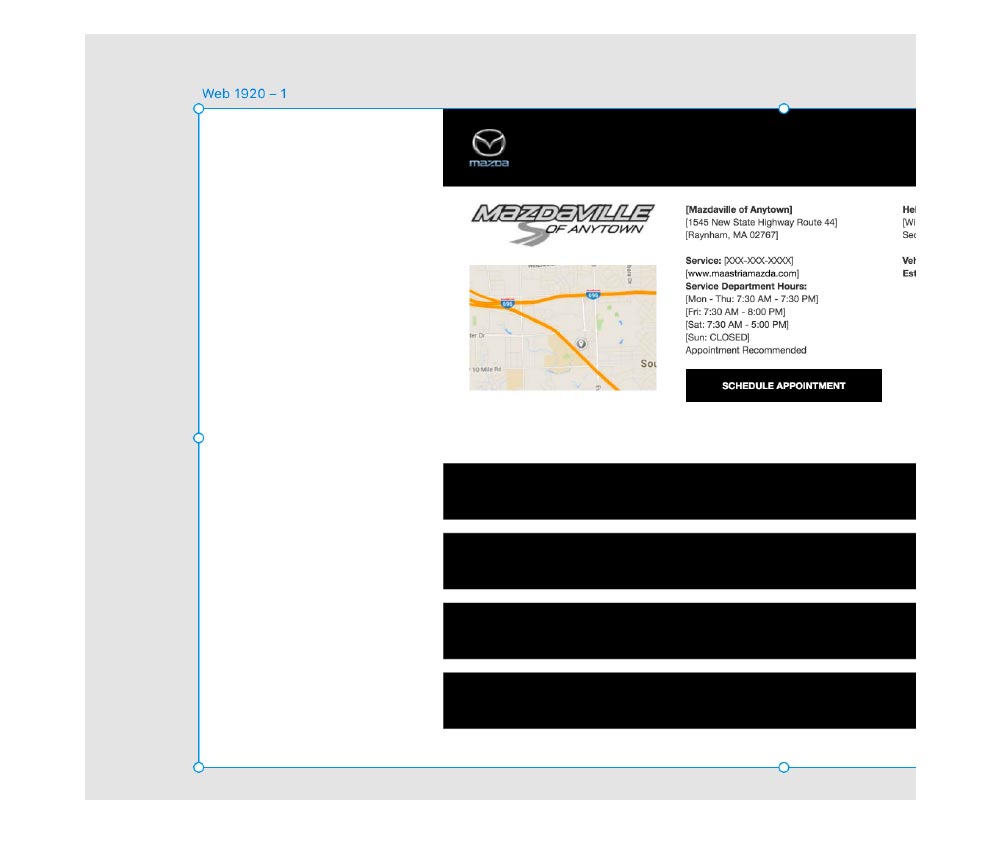
Drag and drop the included top half of the page into the document we just created. With the artwork selected, align it to the center of the document.

Select the rectangle tool and draw a box just like the landing page example that was included. Our goal is to build the bottom half of the landing page.
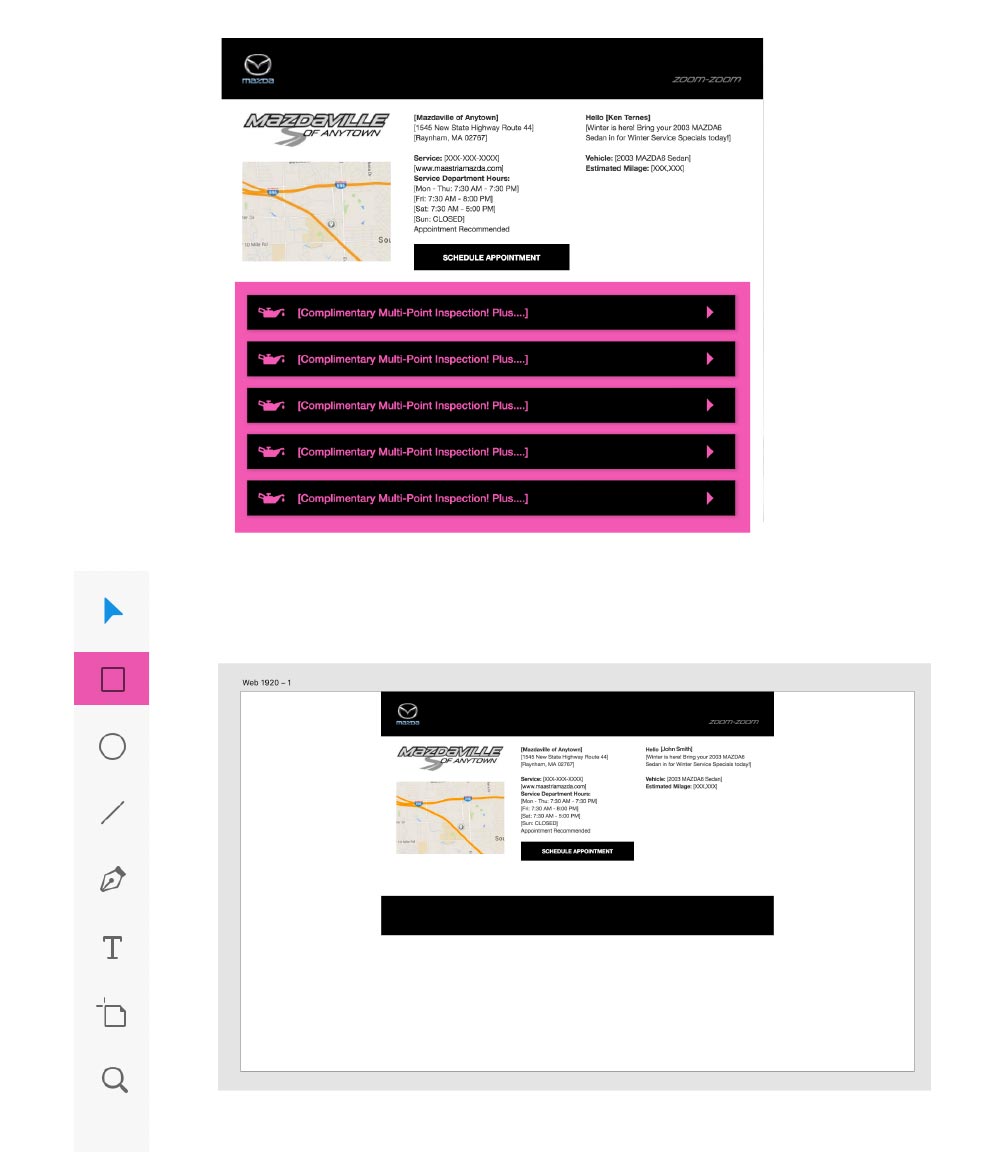
Copy and paste the icons from the Illustrator file to create the gas can and arrow icon from the landing page.
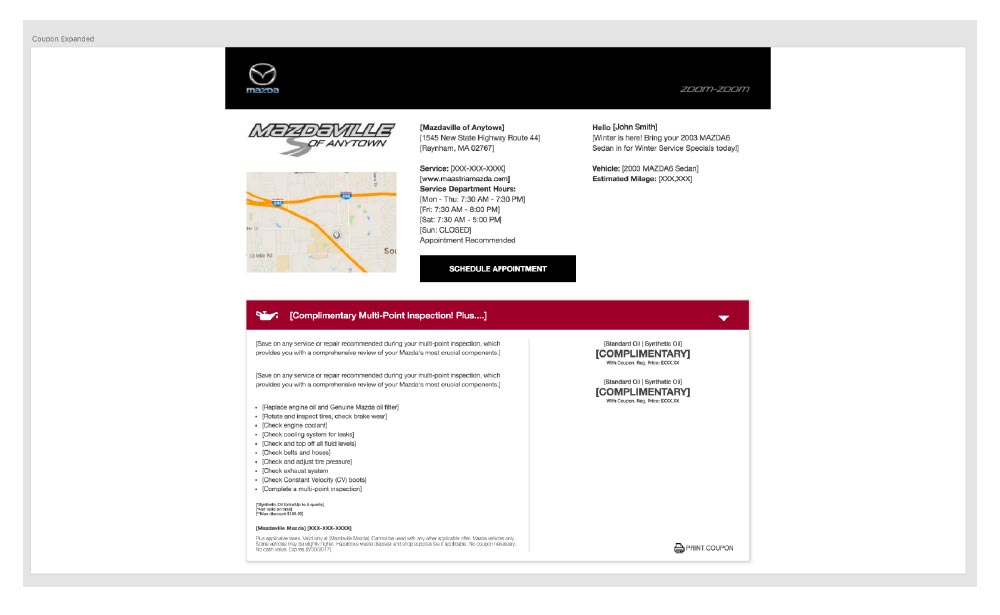
Select the artboard and copy and paste to create an identical artboard that will use to create the second frame
(what the page will look like when the coupon is clicked.)
Once it looks like the landing page it’s time to design what the coupons look like when they are selected.
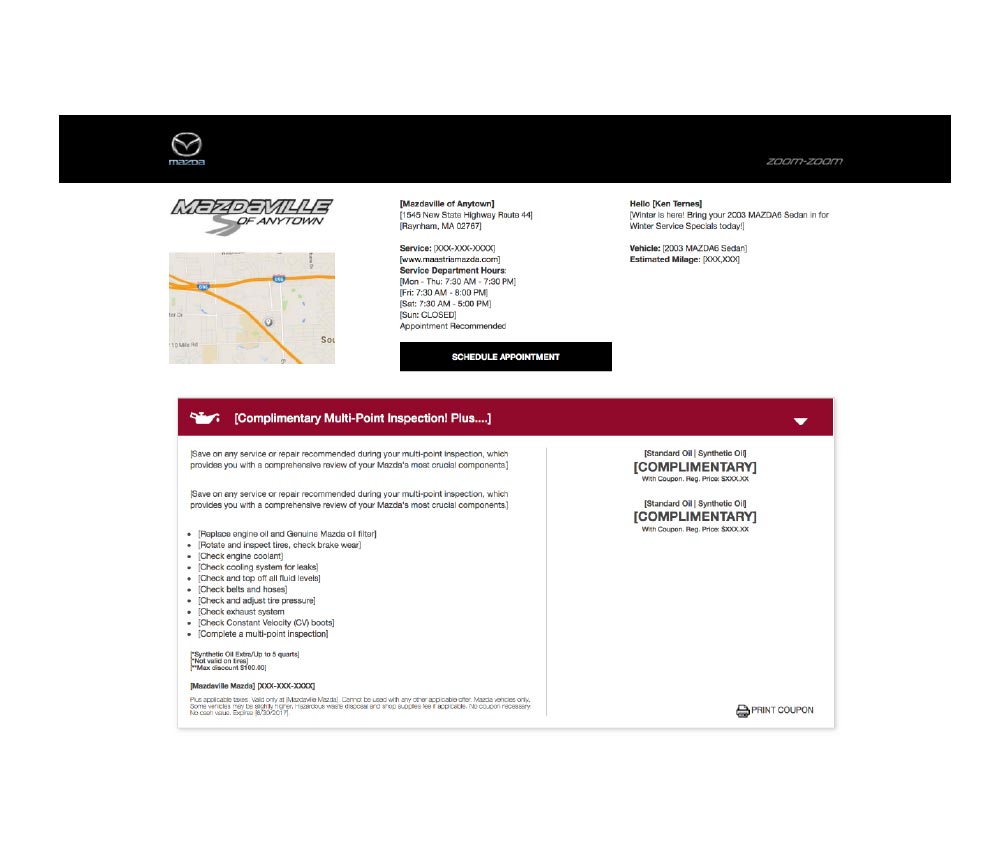
I am also including the coupon. If you want build it out you can. But for time sake you can drop in the image provided.
Another good thing to do is to name your artboards. This will help to
elminate confusion on larger builds.
Double click on the artboard and pick a name that is relavant to what is happening on the artboard.
Click on prototype in the top left corner. Click on the first coupon you created. You will notice a blue tab that appears on the right side. You can click on it to choose a target (which artboard you want to transition to) or you can click and drag it to the artboard you want to transition to.
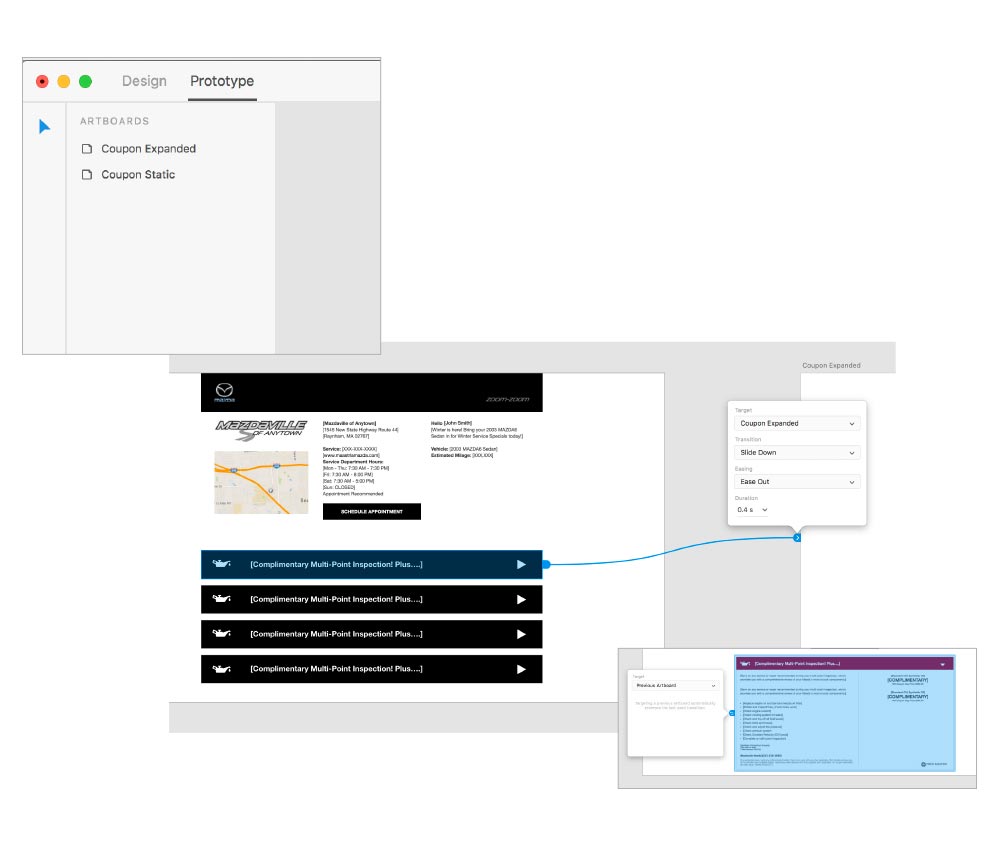
You want to pick the transition that mimics what the transition will look like once its developed. In this case pick slide down. To complete the interaction, select the expanded coupon and choose previous artboard as the target. This will reverse your animations and make a looping animation.
Select the play button in the top right corner to test it out.
Click the coupon below to check it out.